Why okra gets slippery
If you have only met okra in a stew, its slippery texture may seem unavoidable. Okra contains a natural substance called mucilage that thickens when the pods are cut and exposed to moisture. That quality is useful in dishes where okra helps give a broth body, but it is less welcome when you want a roasted vegetable with browned edges.
Roasting takes a different approach: a hot oven helps moisture evaporate while the surface browns. It will not remove every trace of okra’s characteristic texture, especially inside larger pods, but it can make that texture far less noticeable. For beginners, the most important habits are simple: start with dry pods, avoid crowding the pan and roast until the edges have color.
Choose, wash and dry the pods
At a produce market, look for okra that feels firm and has a fresh-looking surface. Smaller pods are often more tender, while very large ones can be fibrous. Size is not a guarantee, so check that the pods bend slightly rather than feeling hard and woody. Use them while they are still fresh for the most pleasant texture.
Rinse the okra before cutting it, then dry it thoroughly with a clean towel. If time allows, spread the pods on another towel for a few minutes so water caught near the caps can drain away. Surface water has to evaporate before browning can begin. That is why putting wet okra straight onto a crowded baking sheet often leads to soft, steamed pods instead of roasted ones.
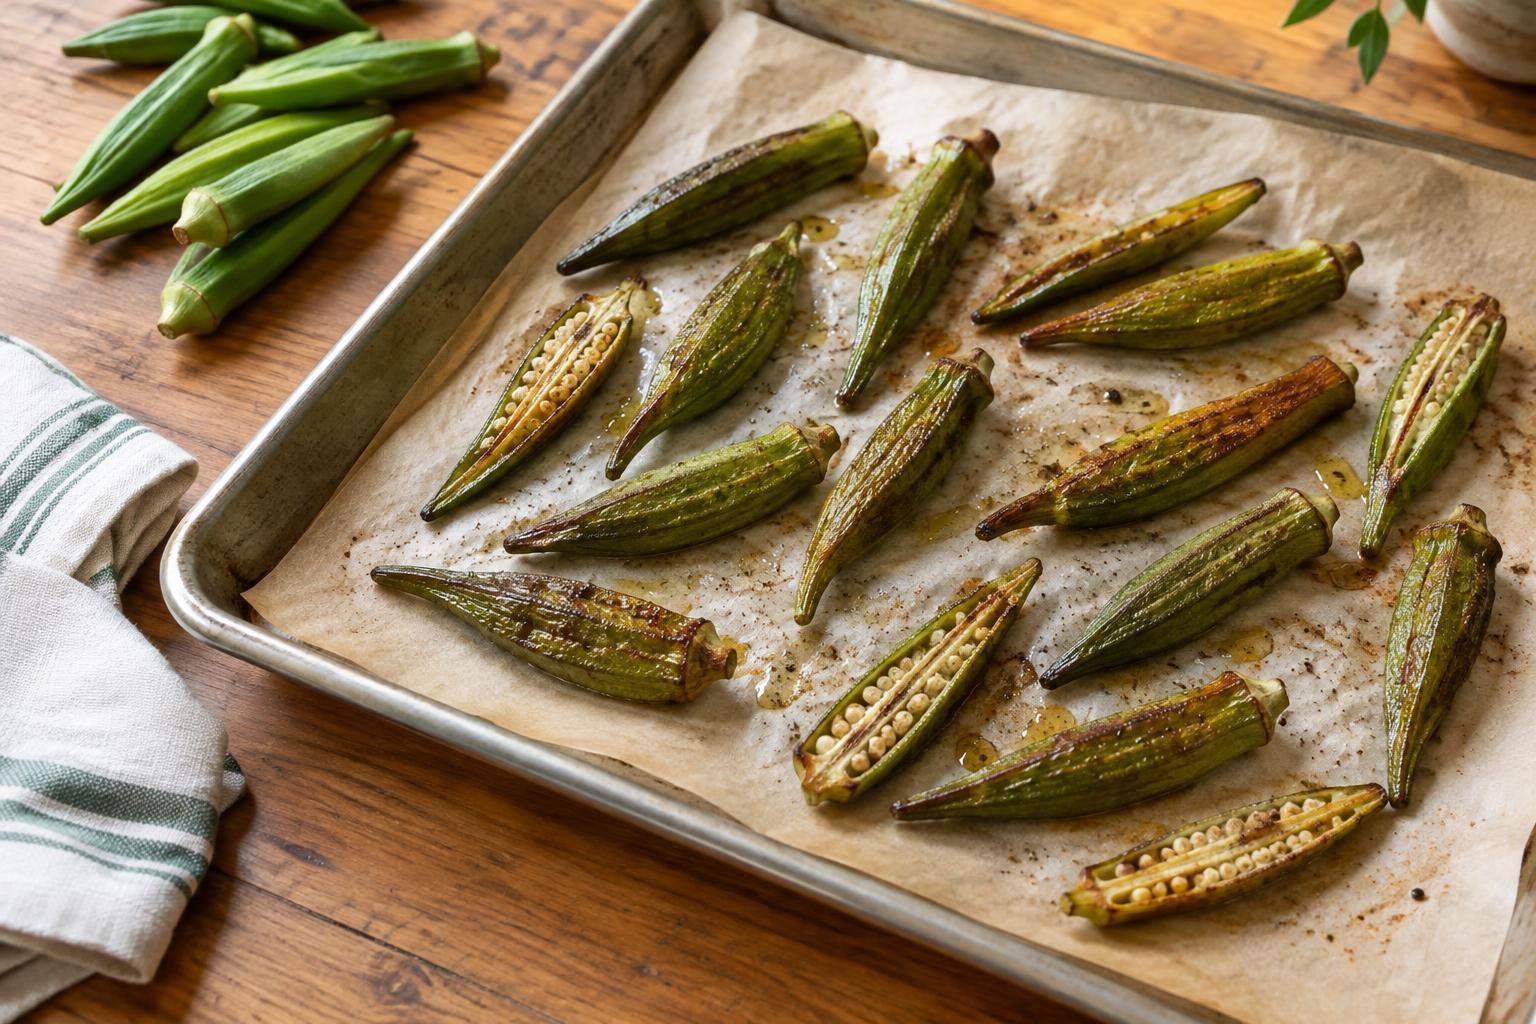
Trim just the tough tip of each stem cap without cutting deeply into the pod. You can roast small pods whole or halve them lengthwise for more browned surface area. Cutting exposes the mucilage, so whole pods are a good first choice if texture is your main concern. If you halve them, cut just before seasoning and roasting rather than letting them sit damp on the counter.
A simple roasted okra method
Heat the oven to 425°F and place a rack near the center. For about one pound of okra, use a large baking sheet, a tablespoon or two of olive oil or another cooking oil, and a generous pinch of salt. Toss the dry pods lightly with the oil and salt. They should look coated, not drenched. Add black pepper or a small pinch of smoked paprika if you like.
Spread the okra in a single layer with a little space between pieces. If it will not fit without piling up, use a second pan or roast in batches. Roast for roughly 15 to 25 minutes, turning once, until the pods are tender and show browned spots. Small or halved pods may finish sooner than large whole ones, so begin checking early. If the okra is tender but pale, a few more minutes may improve its flavor; watch closely so the thin tips do not burn.
Serve it soon after it leaves the oven, when the edges are at their best. A squeeze of lemon or a dash of vinegar adds brightness, but wait until serving to add it. Acid is a flavor choice, not a substitute for drying the okra and giving it space on the pan.
Adjust the result to your taste
For the least noticeable slipperiness, begin with small, whole, thoroughly dried pods and roast them on an uncrowded sheet. For more browned, crisp-edged bites, halve the pods lengthwise and arrange them cut-side down. Either version should have a tender interior; roasted okra is not meant to be crisp all the way through.
If a batch comes out soft, consider what happened before adding more oven time. Wet pods, too much oil and a packed pan can all limit browning. Next time, dry the okra more carefully or divide it between two sheets. If the exterior darkens before the inside is tender, try choosing smaller pods or lowering the oven temperature slightly for the next batch.
Keep the finished dish straightforward, or pair it with familiar flavors. Garlic powder and black pepper make an easy savory version; cumin and a little chili powder add warmth. A spoonful of yogurt-based dip on the side can provide a cool contrast without moistening the okra before it reaches the table. Once you know how you like the basic roast, market-fresh okra becomes an easy vegetable to adapt to the rest of your meal.